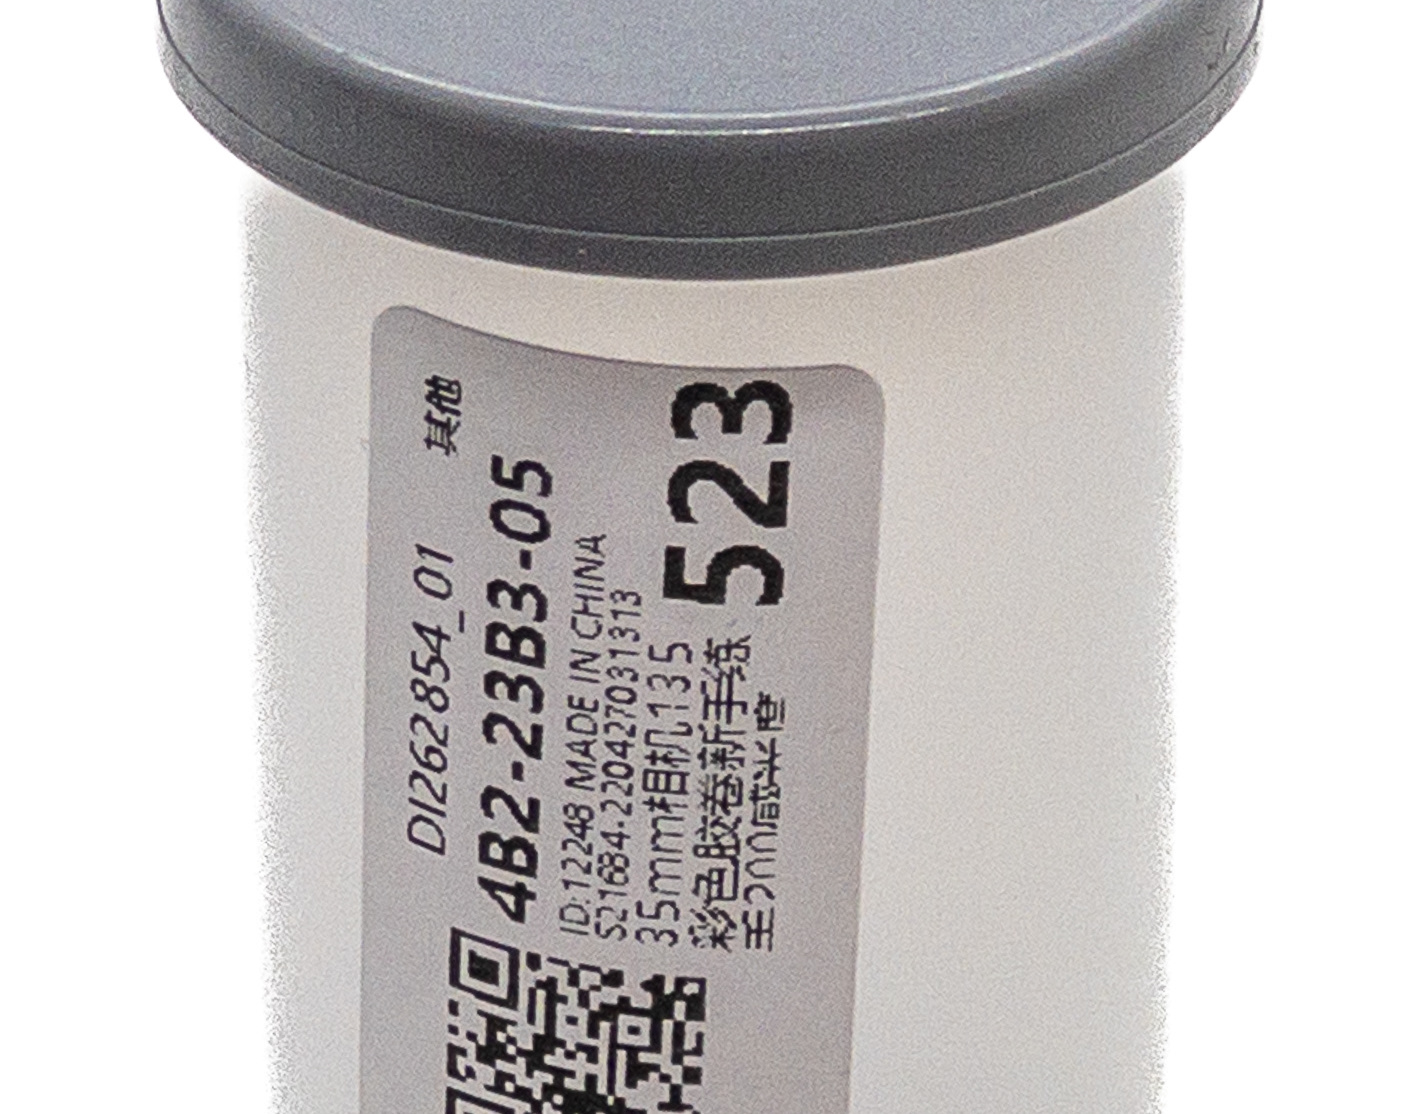
After many trials with the flatbed scanner and various ways of holding the 120 size uncut film rolls for scanning purposes, I gave up. Scanning with a flatbed scanner without cutting the films was impossible. Therefore, it turned out that in the case of rolls, the only available method is to use PIXL-LATR. When I think about what I have found, I can sum it up with a simple statement: nothing simpler.
The set consists of the following elements:
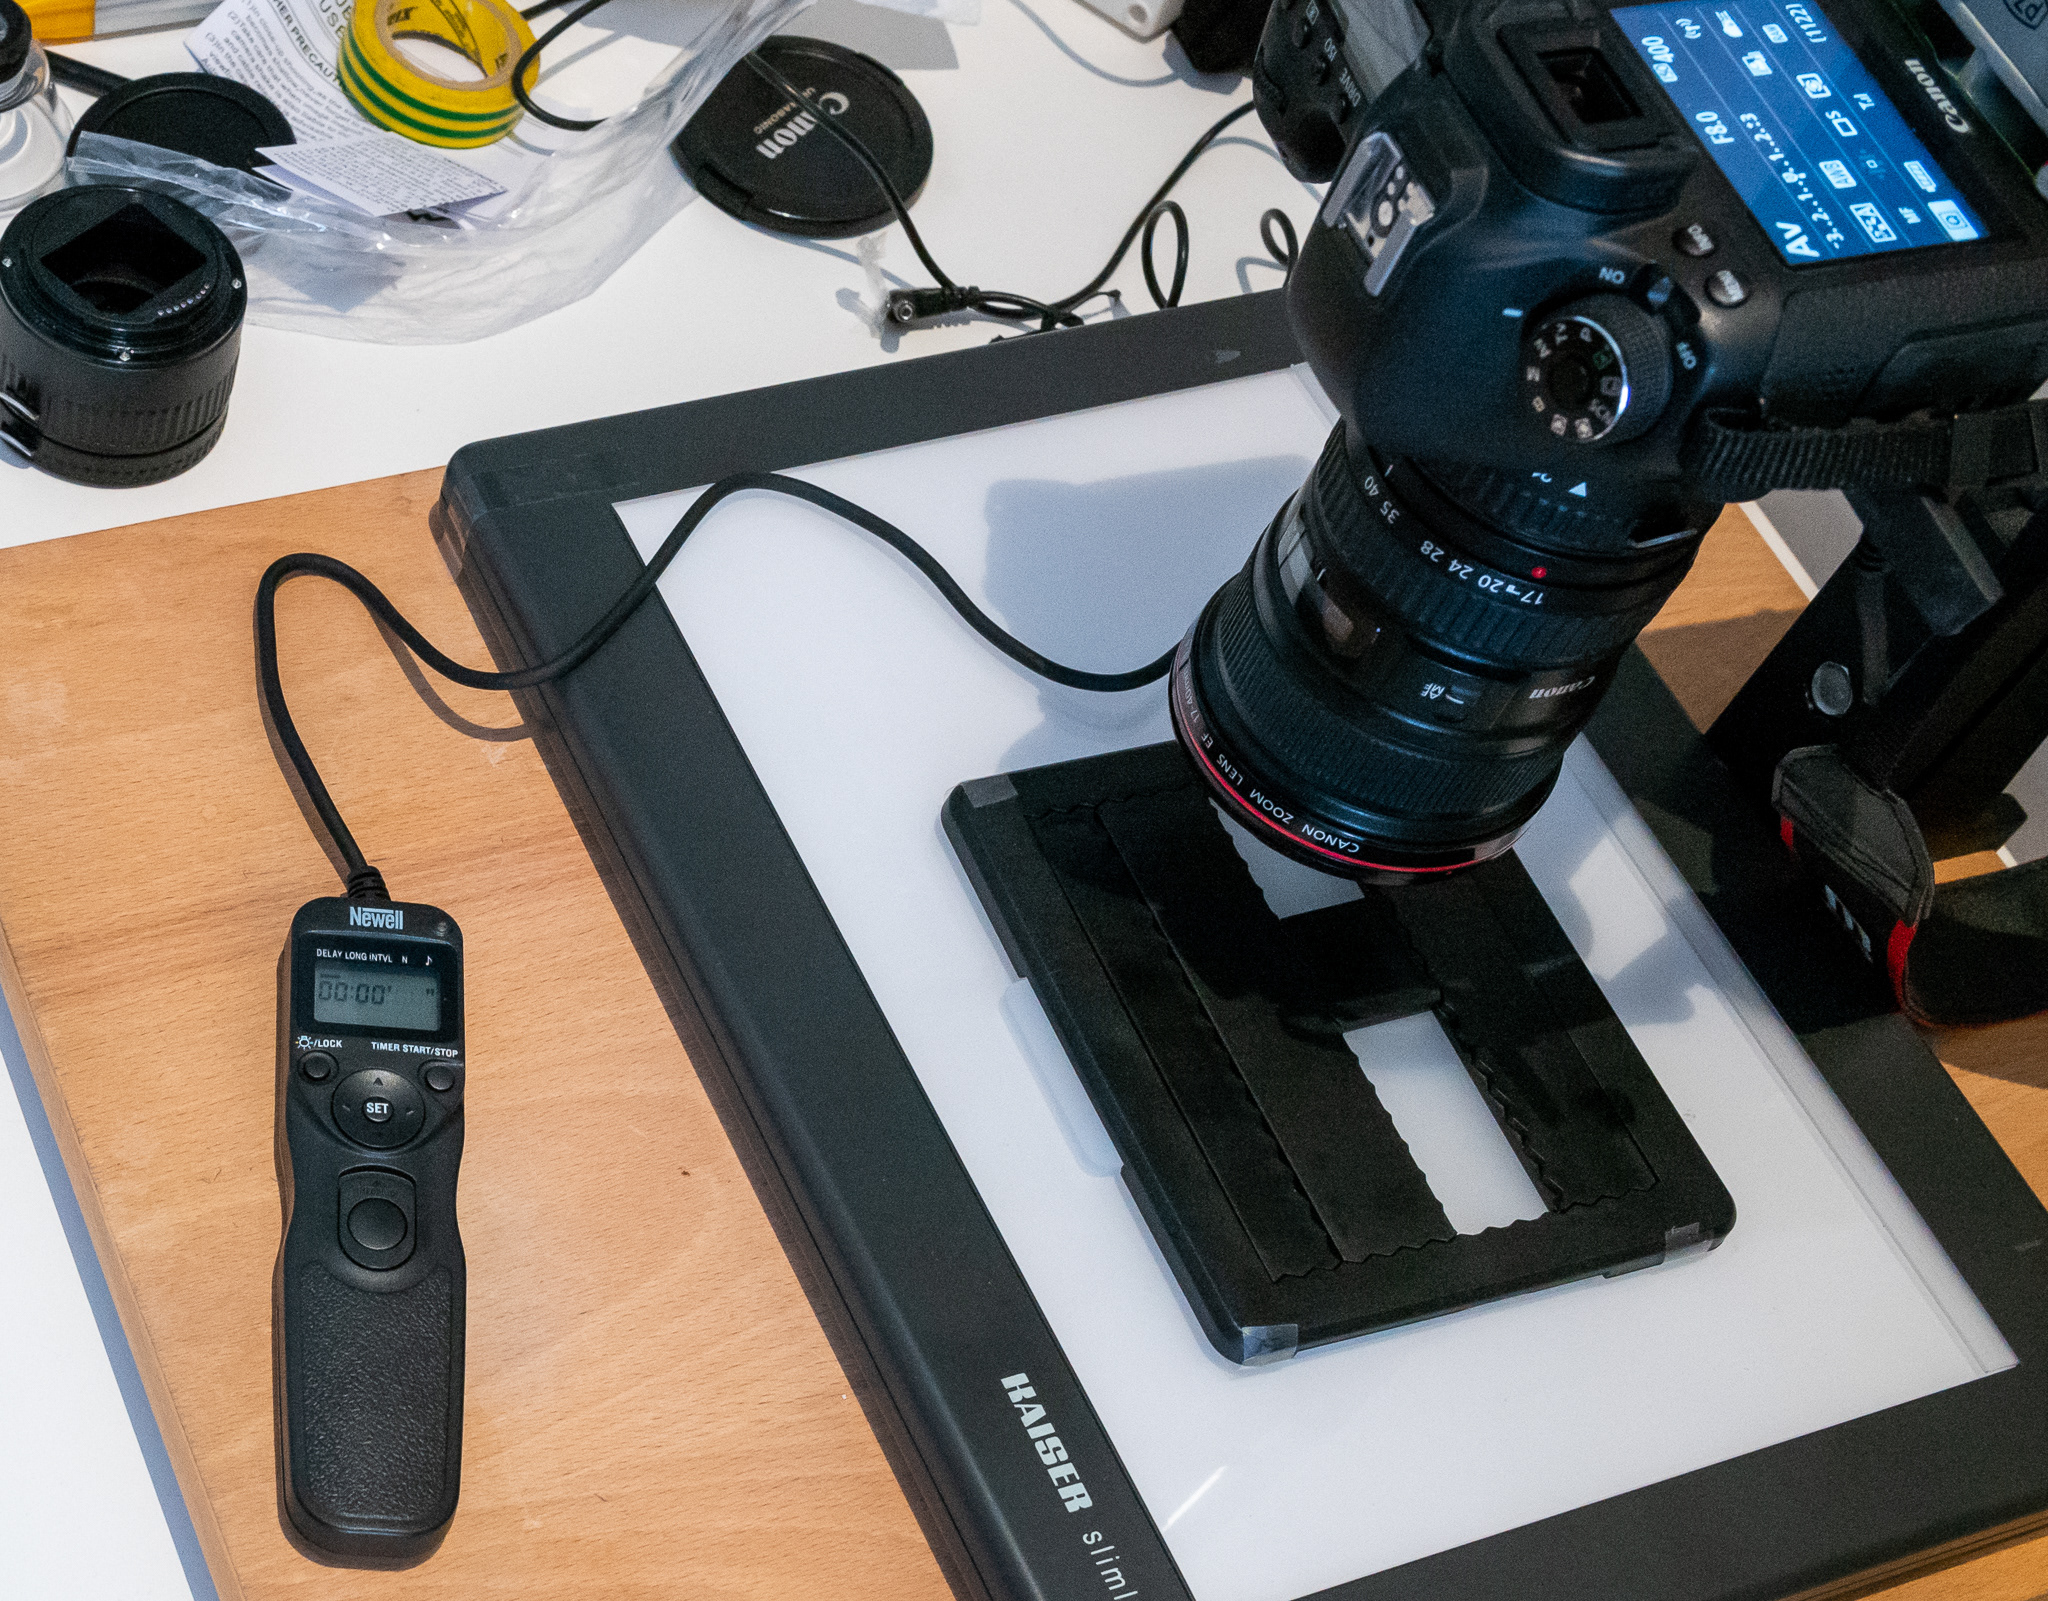
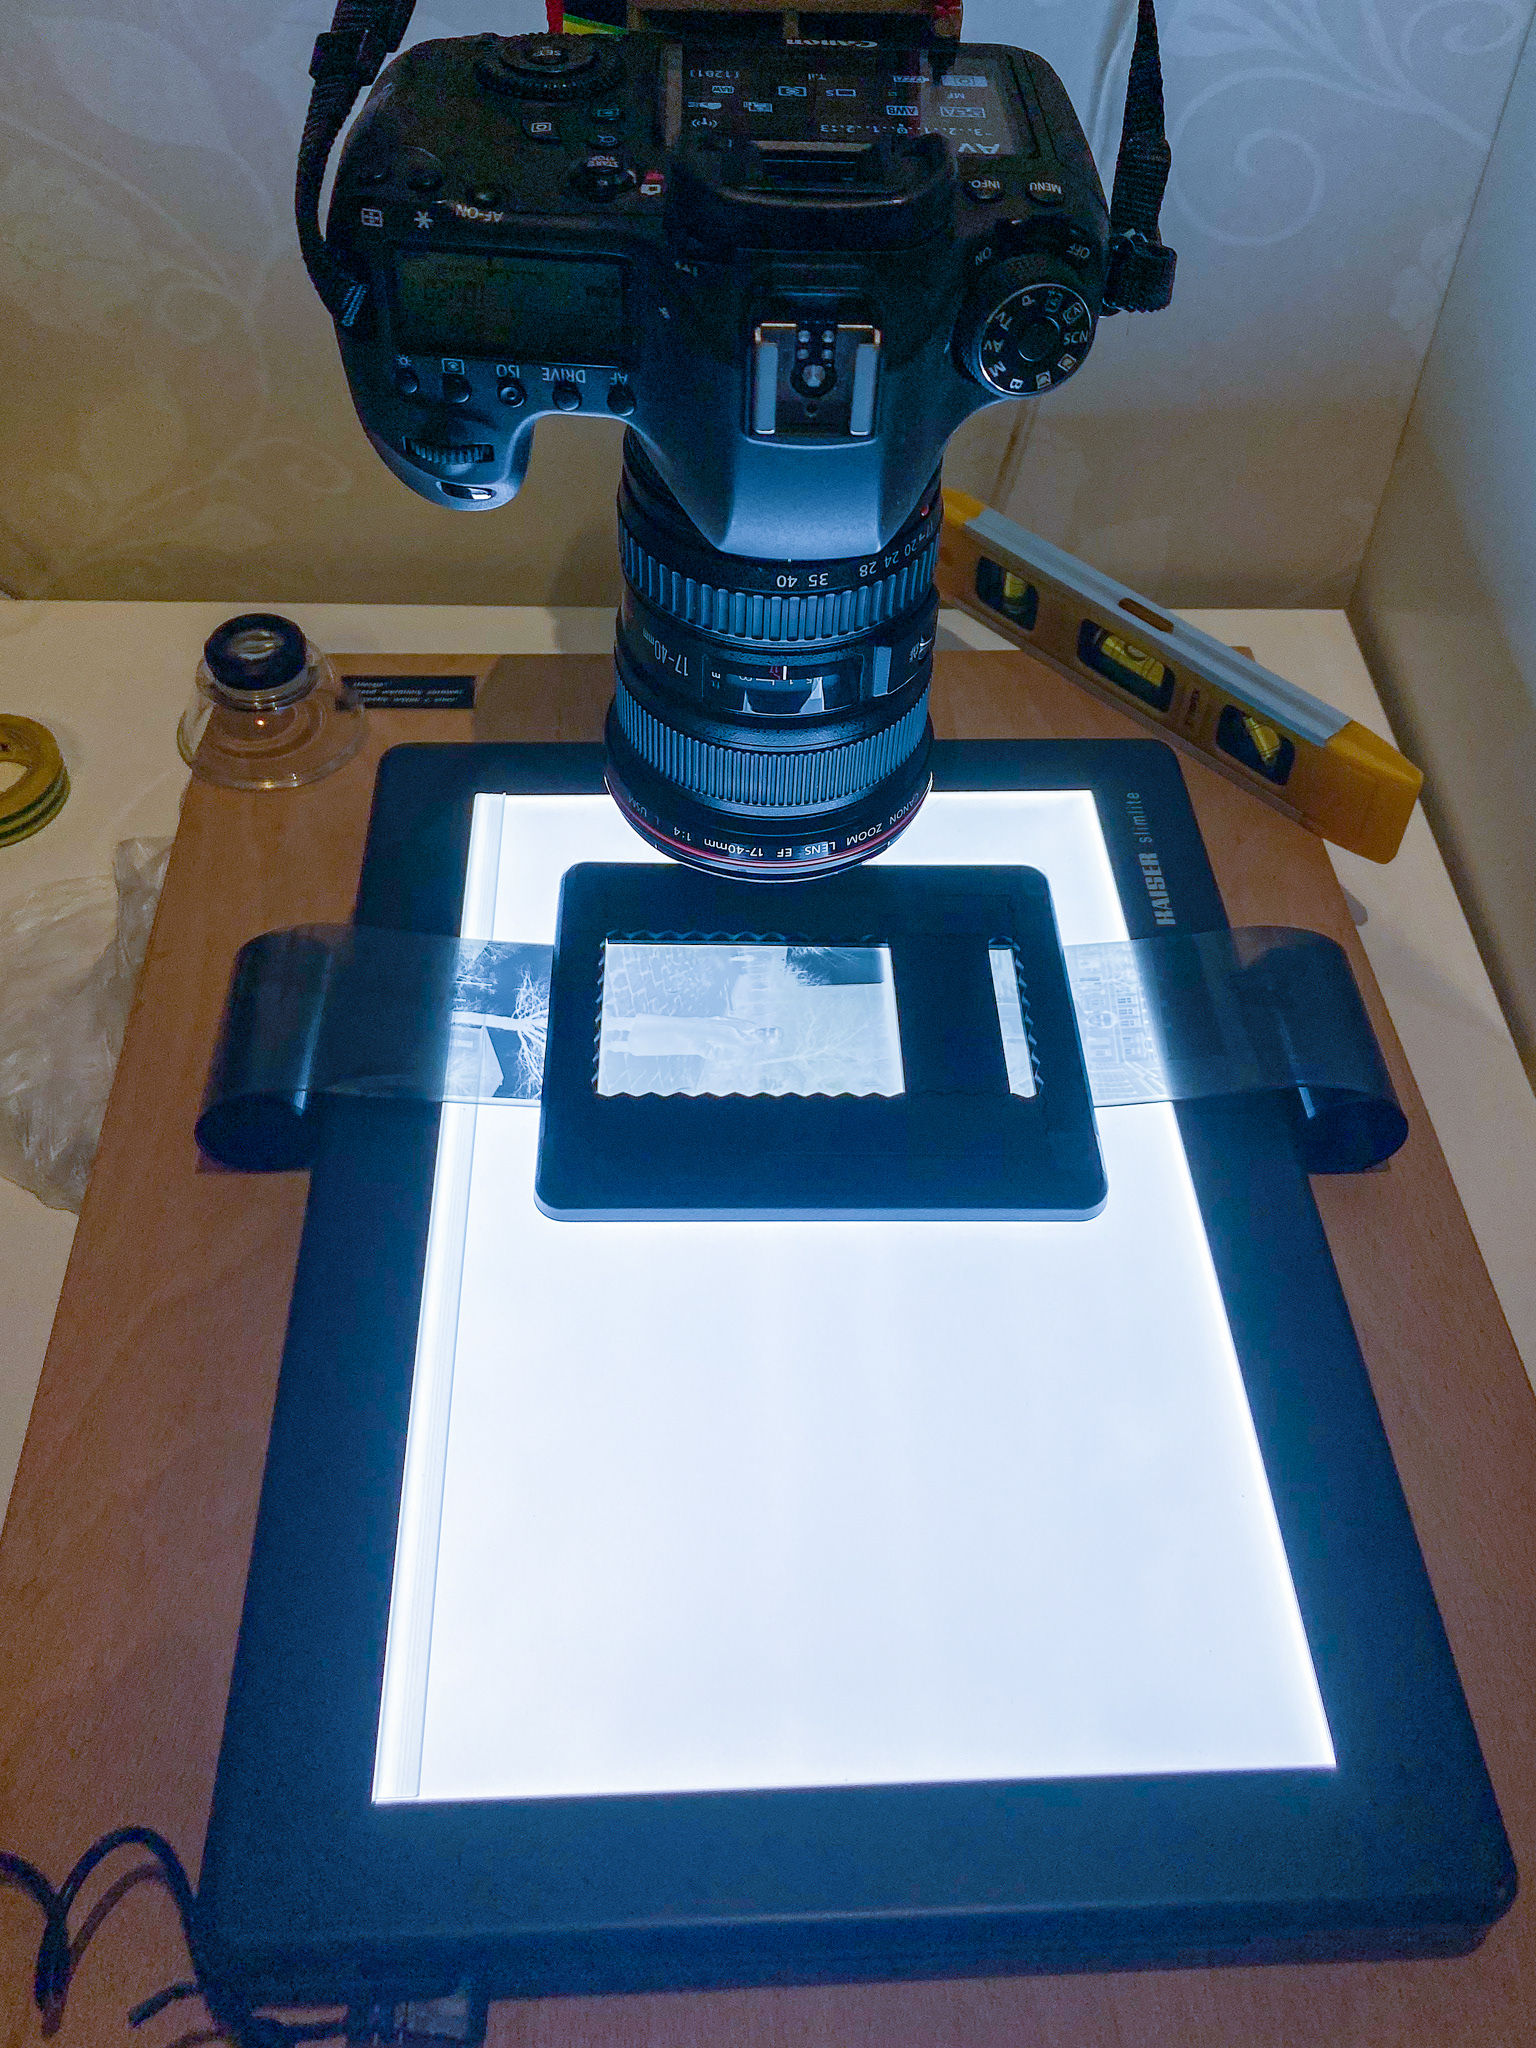
- CANON EOS 6D camera
- SIGMA 35mm 1: 1.4 DG or CANON ZOOM 14-40mm 1: 4 L USM lens
- 13mm MACRO adapter ring from cheap adapter ring kit with lens automation transfer for CANON EF mount
- Kaiser "slimlite" negative backlight (as described - illuminated with a 19W cold cathode lamp)
- PIXL-LATR frame
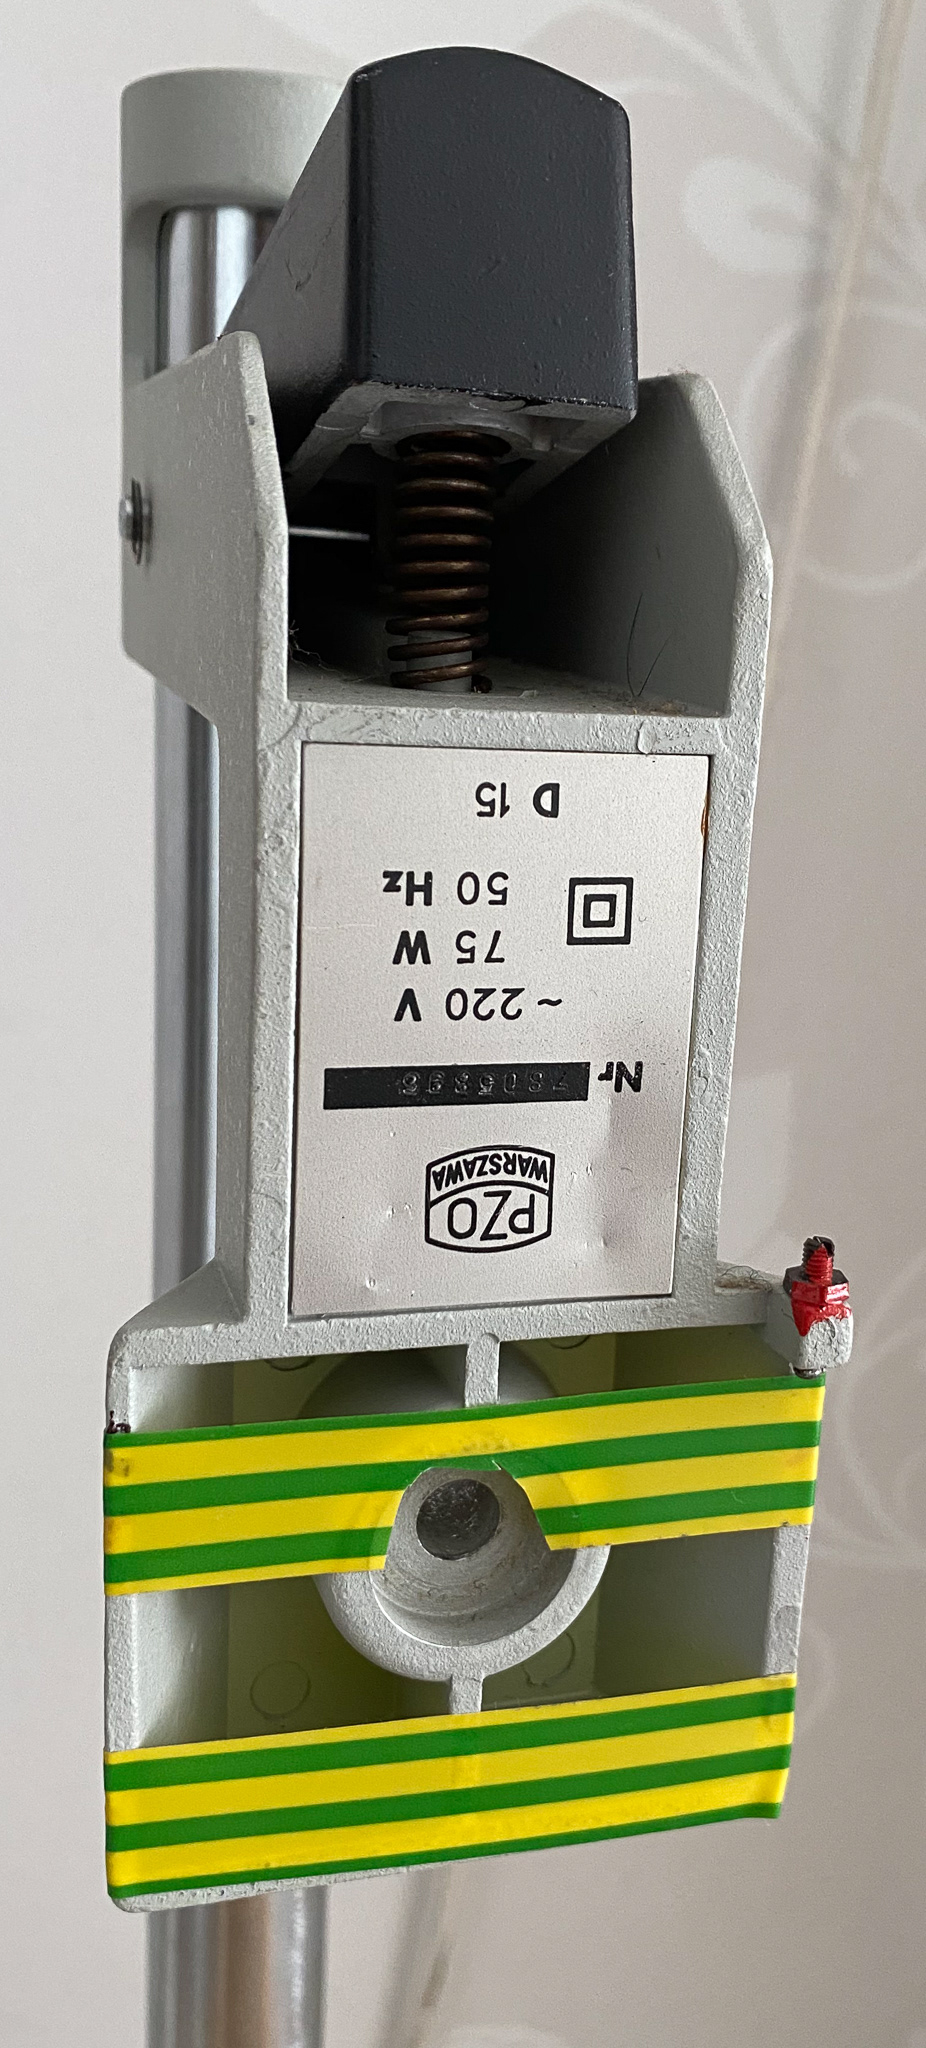
- Reproduction column built based on the KROKUS 35 SL enlarger, bought on 7 July 1974
- iPhone 11 Pro with CANON Camera Connect application installed
- Adobe Lightroom for cropping photos, "developing to positive," and improving exposure parameters.
- SIGMA 35mm 1: 1.4 DG or CANON ZOOM 14-40mm 1: 4 L USM lens
- 13mm MACRO adapter ring from cheap adapter ring kit with lens automation transfer for CANON EF mount
- Kaiser "slimlite" negative backlight (as described - illuminated with a 19W cold cathode lamp)
- PIXL-LATR frame
- Reproduction column built based on the KROKUS 35 SL enlarger, bought on 7 July 1974
- iPhone 11 Pro with CANON Camera Connect application installed
- Adobe Lightroom for cropping photos, "developing to positive," and improving exposure parameters.
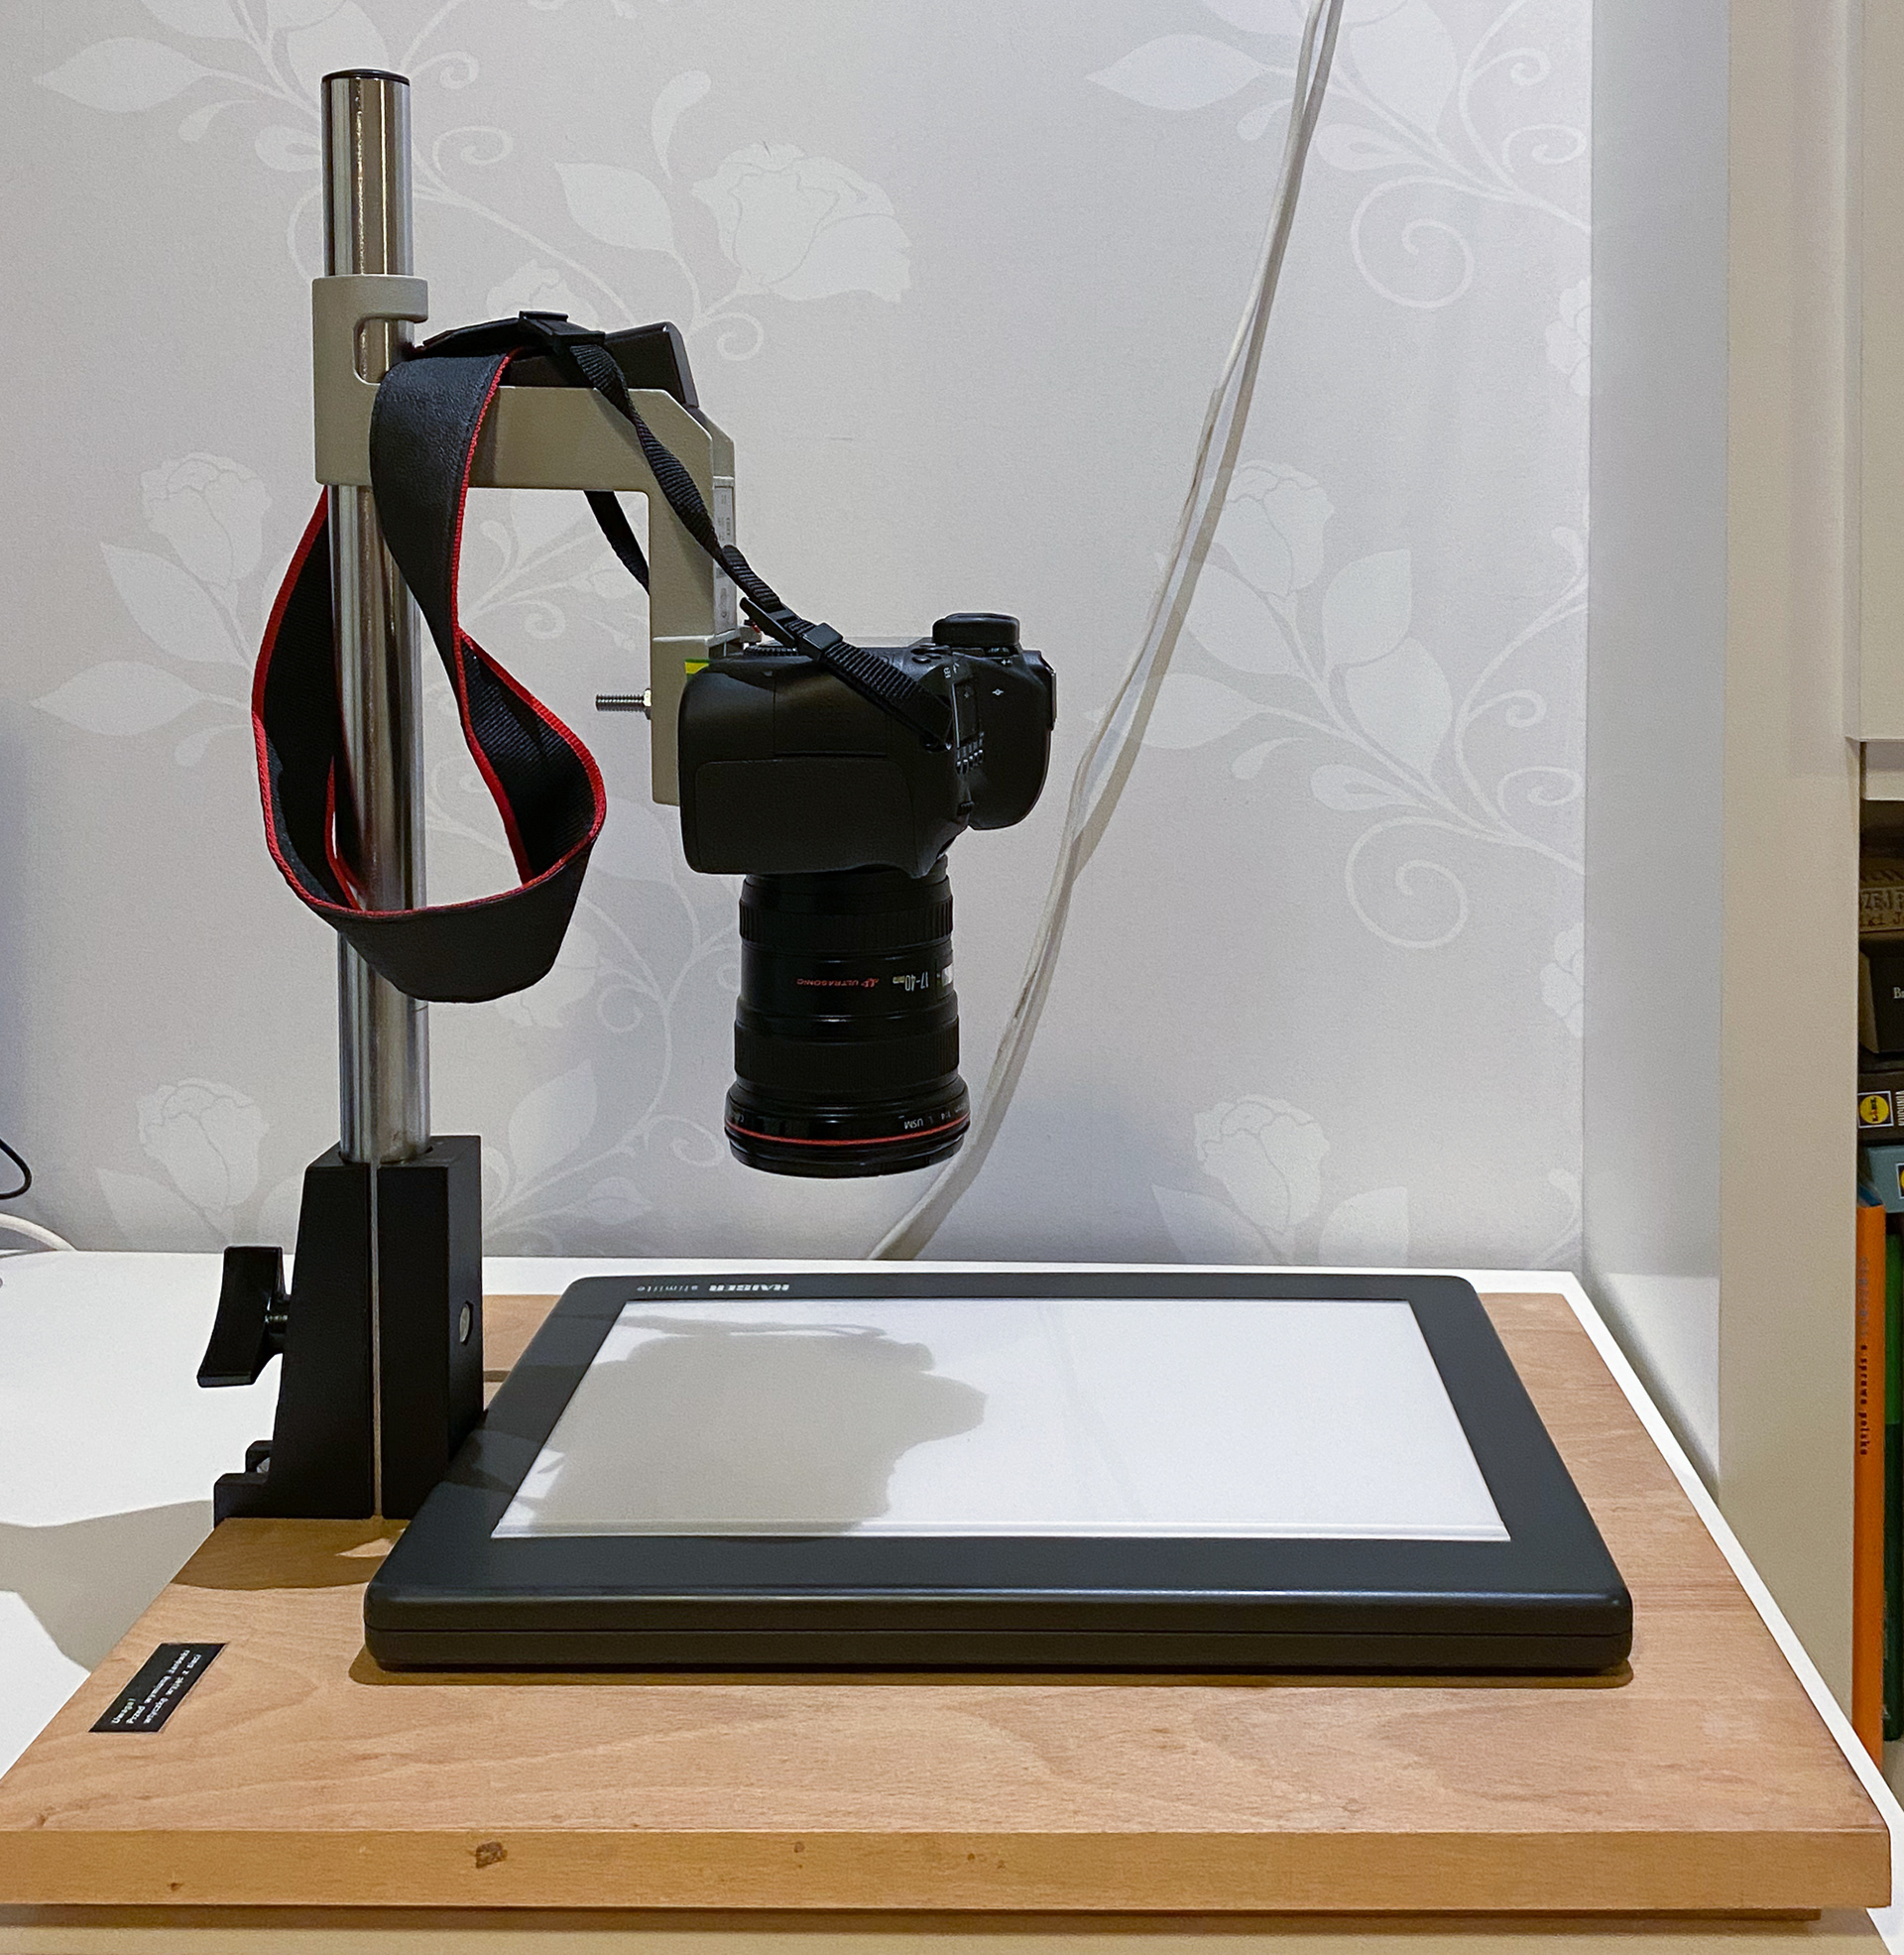
The biggest challenge was attaching the camera to the sliding arm. Normally, an enlarger head was attached to it, but completely without paying attention to standards as it used to be in those days. The problem of screws used in photography (e.g., in tripods) is not so obvious because they are screws with inch metric. I intended to mount the tripod head to the enlarger arm, plus the camera. Unfortunately, the hole in the arm is too small to fit the screw for mounting the heads. Thus, there was still the option of directly attaching the camera to the boom.
For this purpose, I bought a 5cm screw without a head and a nut. Such a mount looks a bit scary for accessories used in photography but is effective.
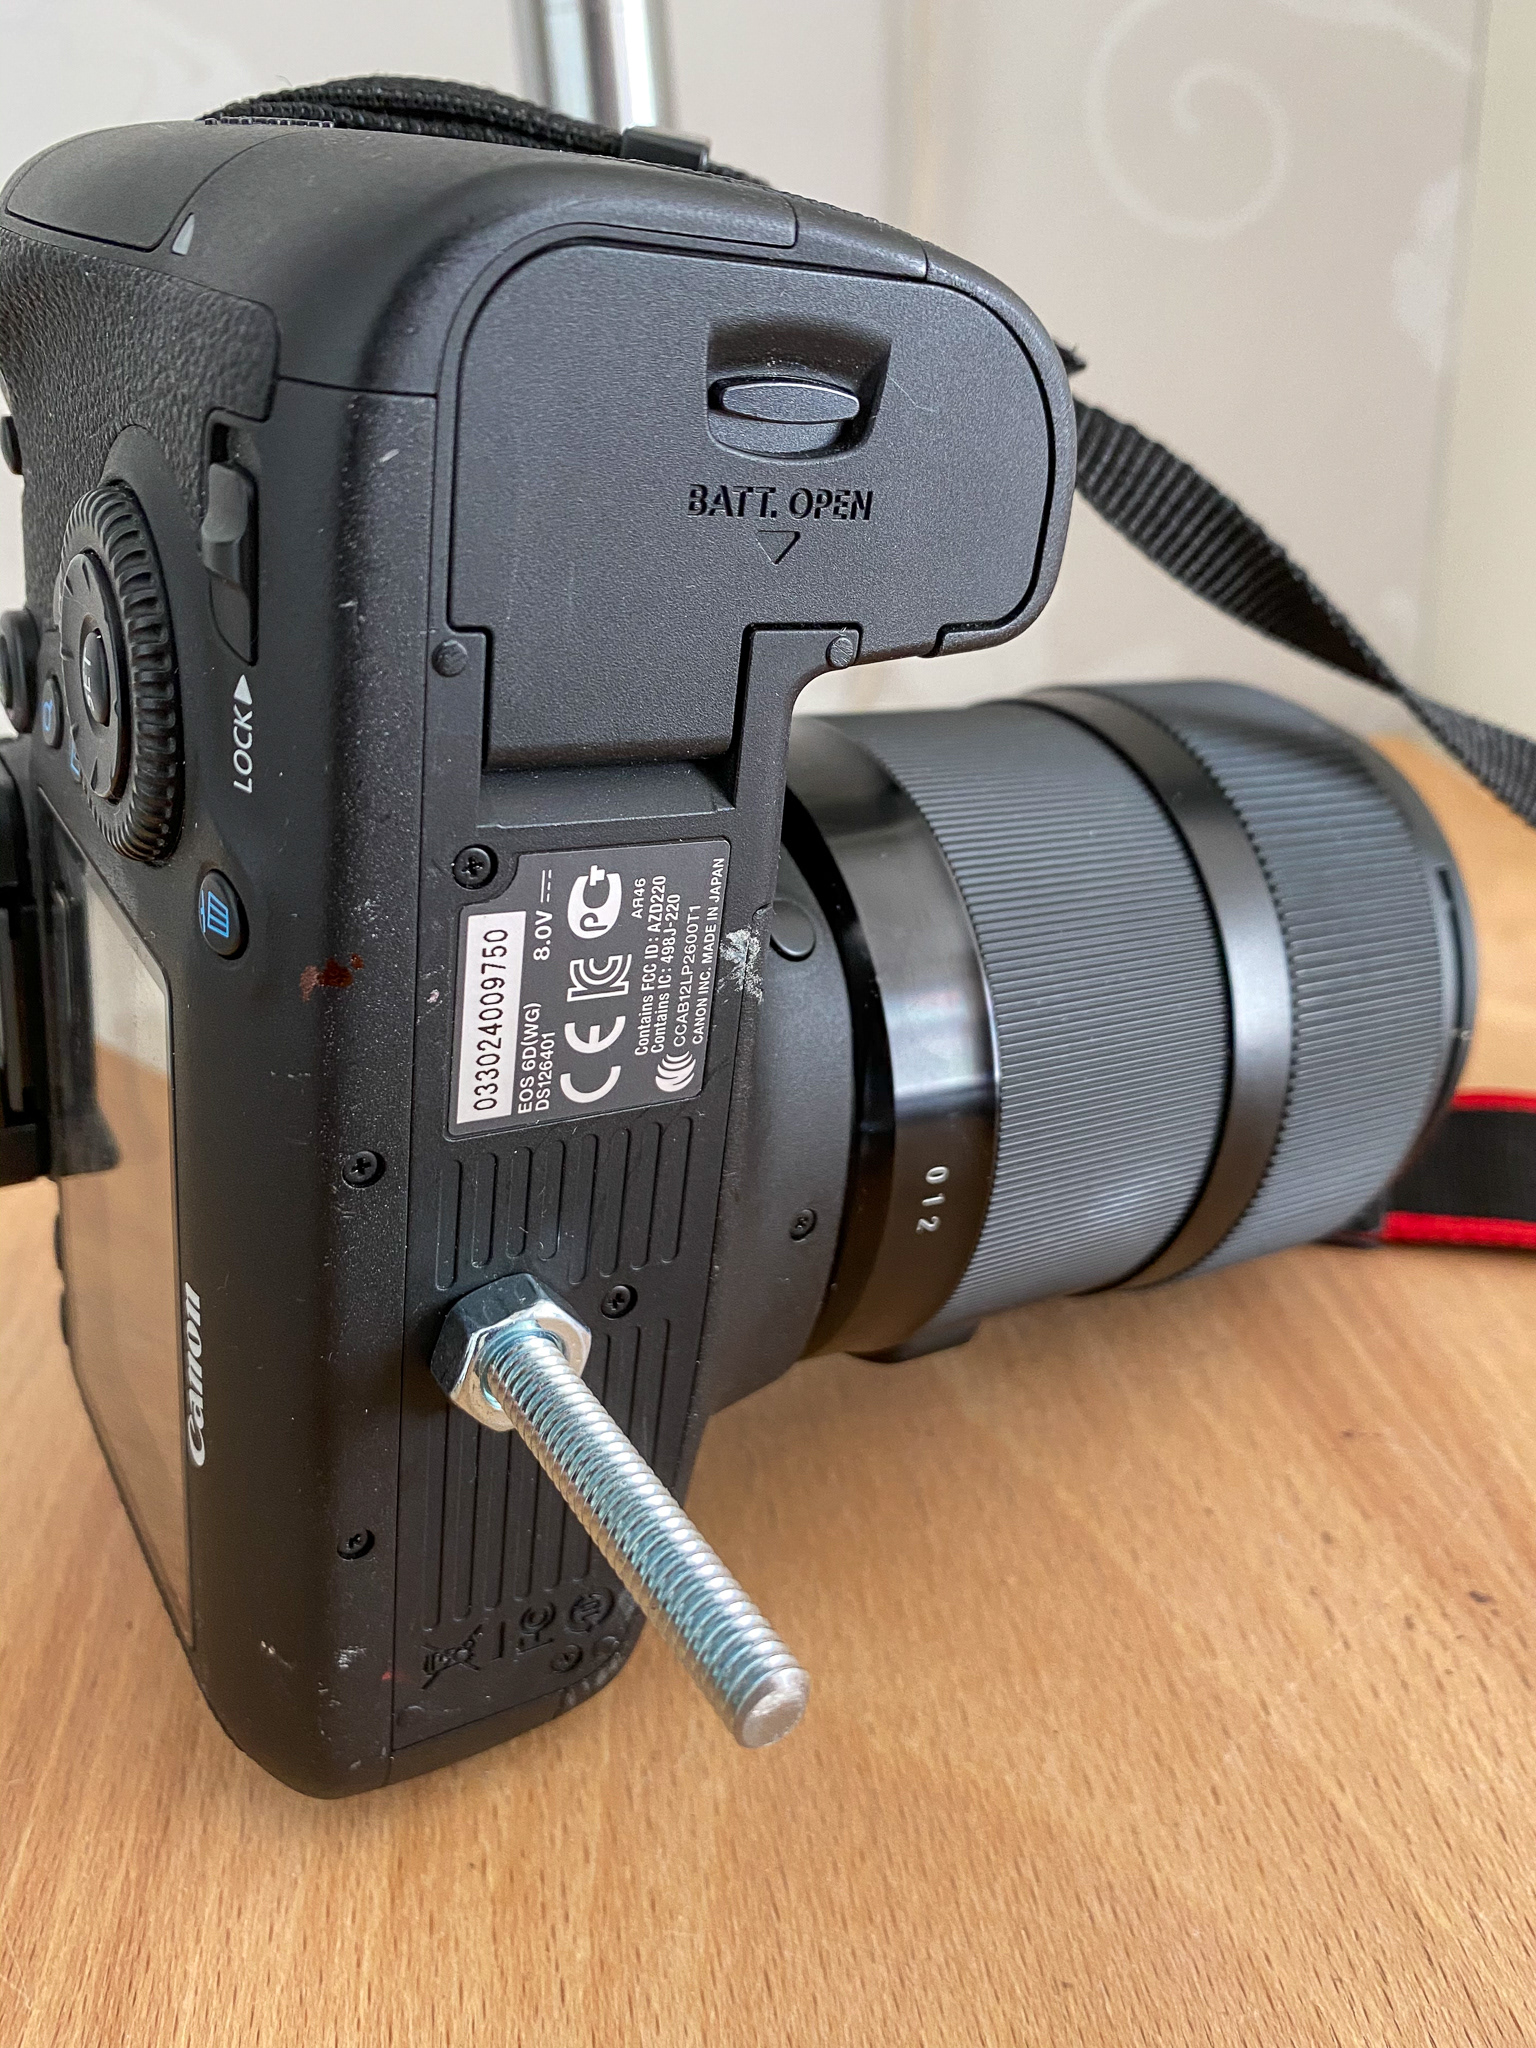
Screw in the camera
The screw hole in the enlarger's arm is additionally covered with insulating tape to protect the camera casing from scratching, as the edges of the arm are quite sharp.
Then the whole set had to be leveled. I used a small spirit level for this. First, I leveled the table of the enlarger and then the camera's rear just before the final mount. This is not a particularly difficult task, but you should do it skillfully because the enlarger arm's hole is significantly larger than the diameter of the screw used.
Enlarger arm edge protection

Kit leveling
Unfortunately, I did not have a 50mm lens at my disposal, so I first experimented with a 35mm lens, but I achieved the best results with the ZOMM at a focal length of 40mm. The front glass's distance from the film's surface for this lens is about 10 cm, ensuring that the entire 6x9 frame fits in the photo taken.
The backlight machine is quite large, so its setting was not significant, although I attached it to the enlarger table with easily removable adhesive tape. I also immobilized the PIXL-LATR frame, fixing it in the same way to the ground. I prepared the frame itself to 120 format and attached (again with the same tape) the diffuser to the body because the film's elasticity and loosening of the diffuser holes after earlier use caused the set to "fall apart". The whole thing turned out to be stable and easy to use, and inserting the rolls and moving the film in the PIXL-LATR frame was easy.
The film moved freely in the frame
Now it was enough to focus. You can do it manually (MF mode) or automatically (AF mode - it works with the rings I have) and ... take pictures. After the first set, I switched the focus mode to MF so that the camera would not try to focus it on its own with each photo. It works much faster. I set the aperture at 4 because there is no need to care for the depth of field with a flat surface. The camera selected the exposure time itself (Av mode), which is a great help when taking pictures, such as 60 years old, with cameras with one aperture and one shutter speed.
Why did I use CANON Camera Connect? Only instead of a drain hose to don't move the camera. Unfortunately, CANON EOS 6d does not have the possibility of screwing a traditional shutter-release hose. Instead of a mobile application, we can, of course, use CANON EOS Utility on a laptop or desktop computer.

iPhone 11 Pro "drain hose."
How much does this method cost? Well, it cost me about 8 USD because I had to buy the only inch based screws and nuts to mount the camera. I had the rest. I think most photographers have a lot of equipment that can be adapted to this method.
One final note. It is best practice to "scan" negatives with this method in a room that is as dark as possible so that the side lighting does not interfere with the negative.
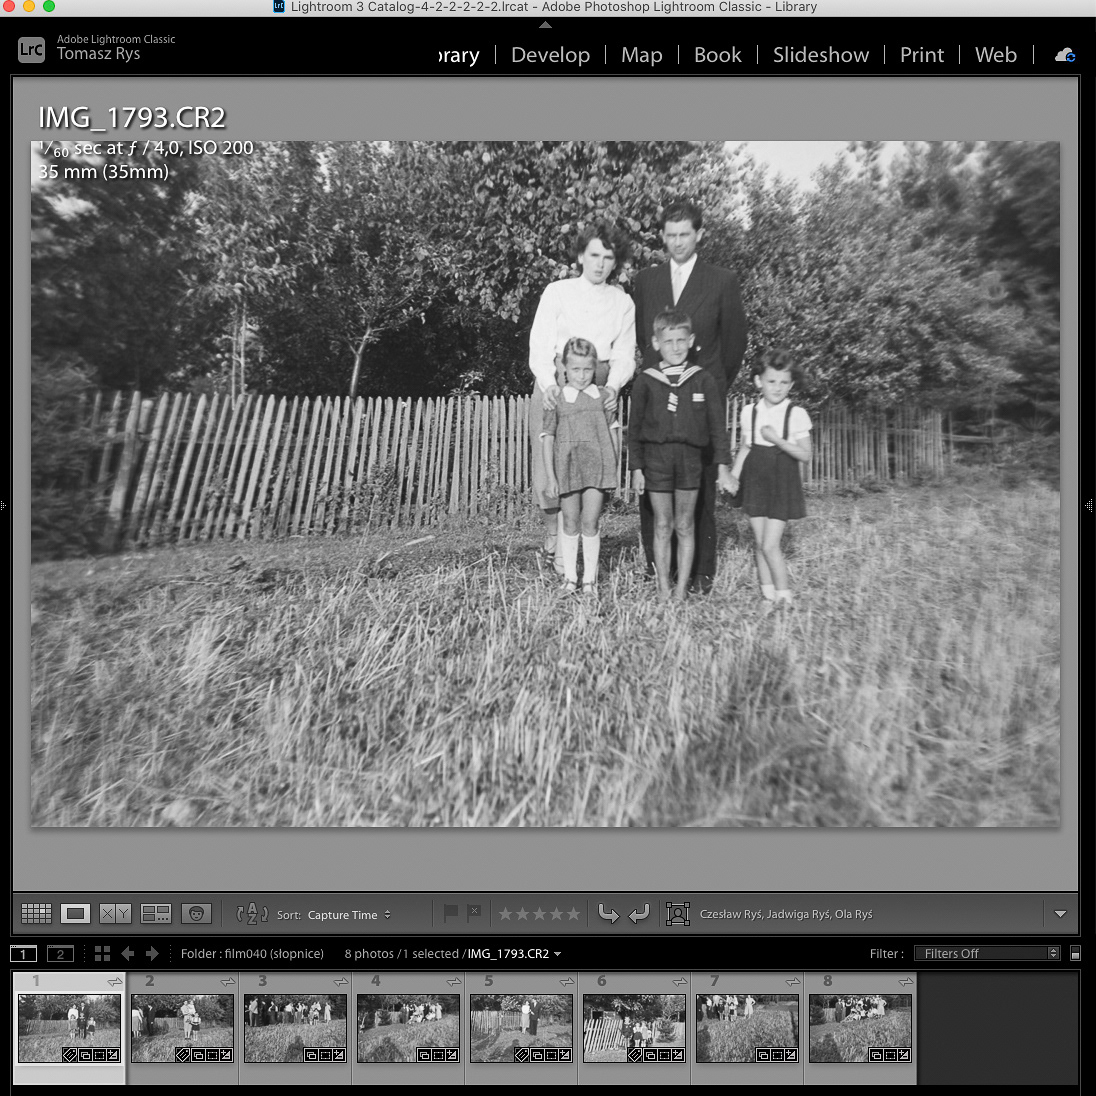
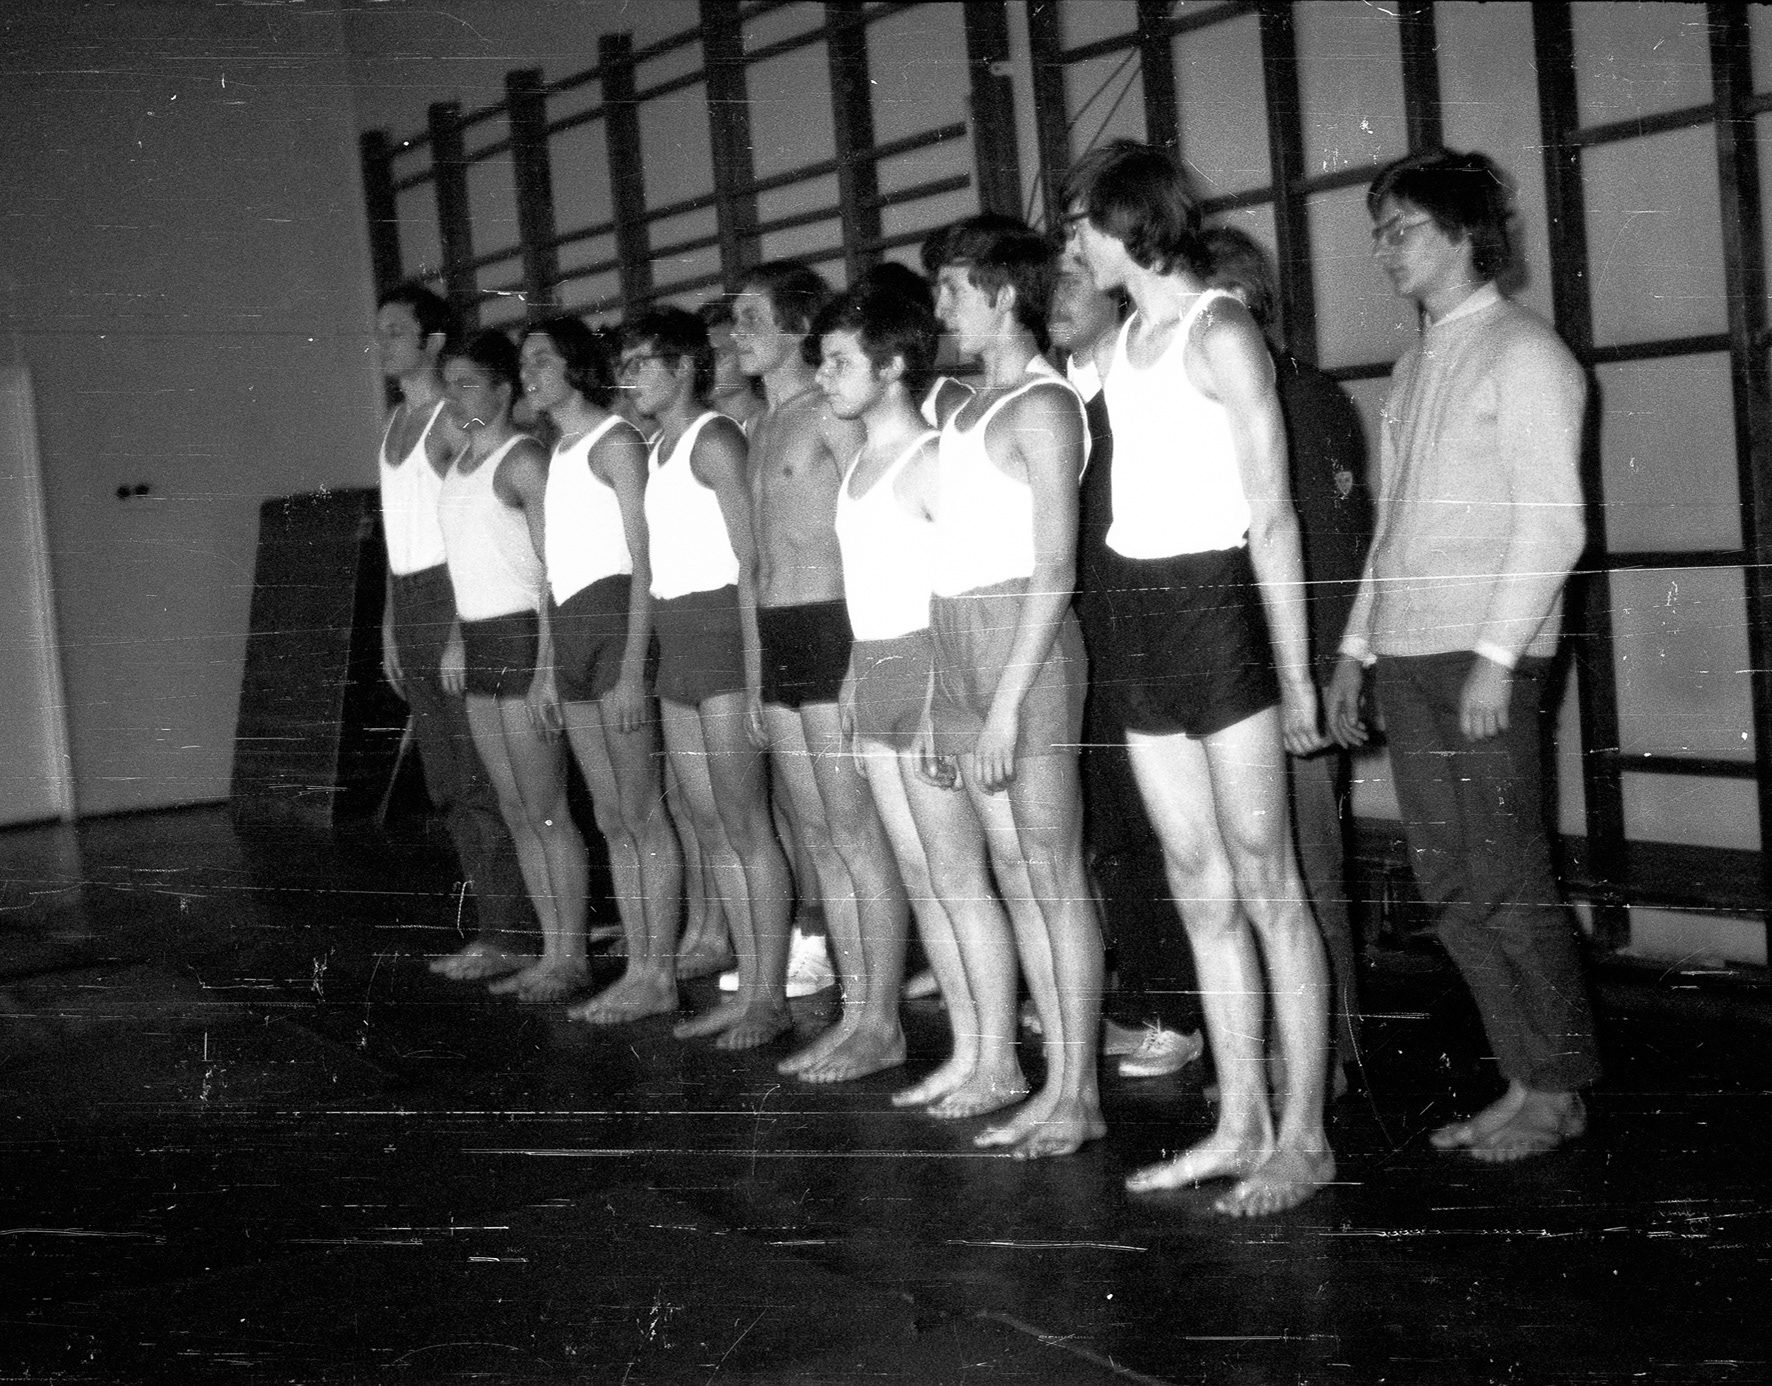
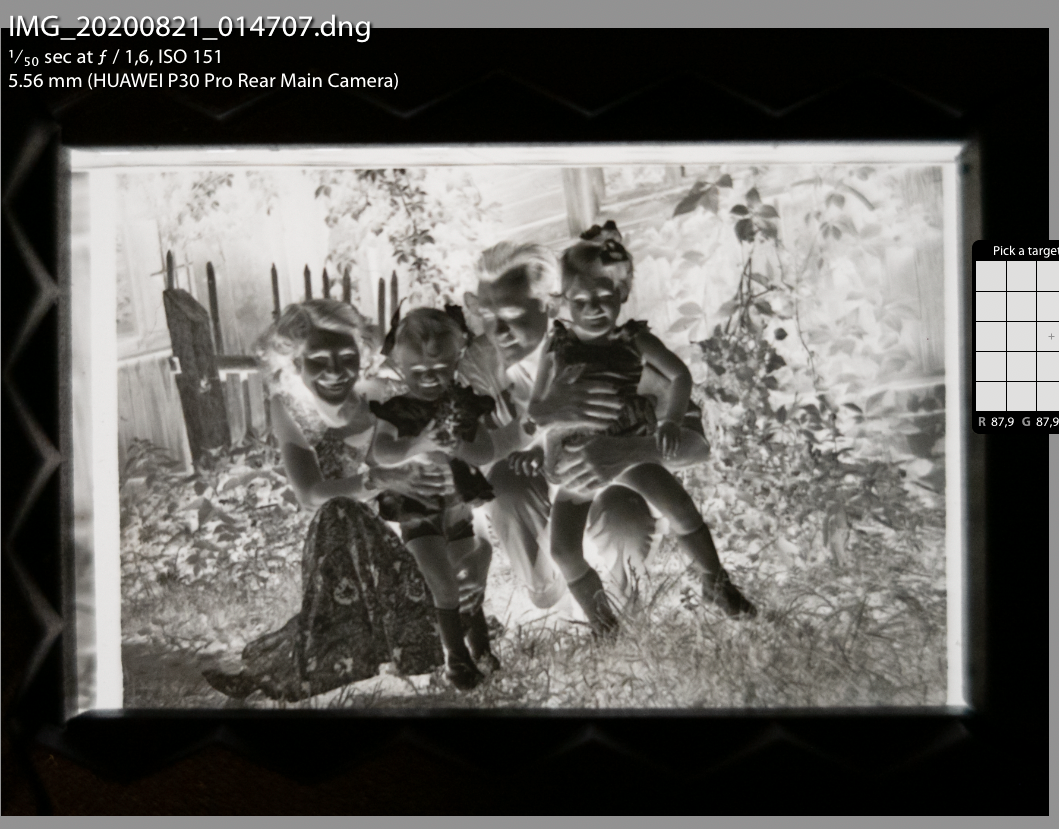
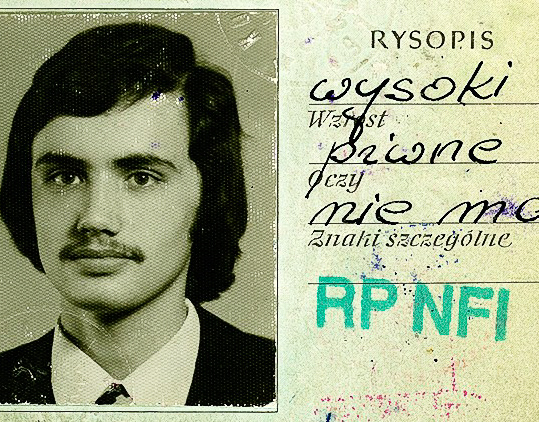
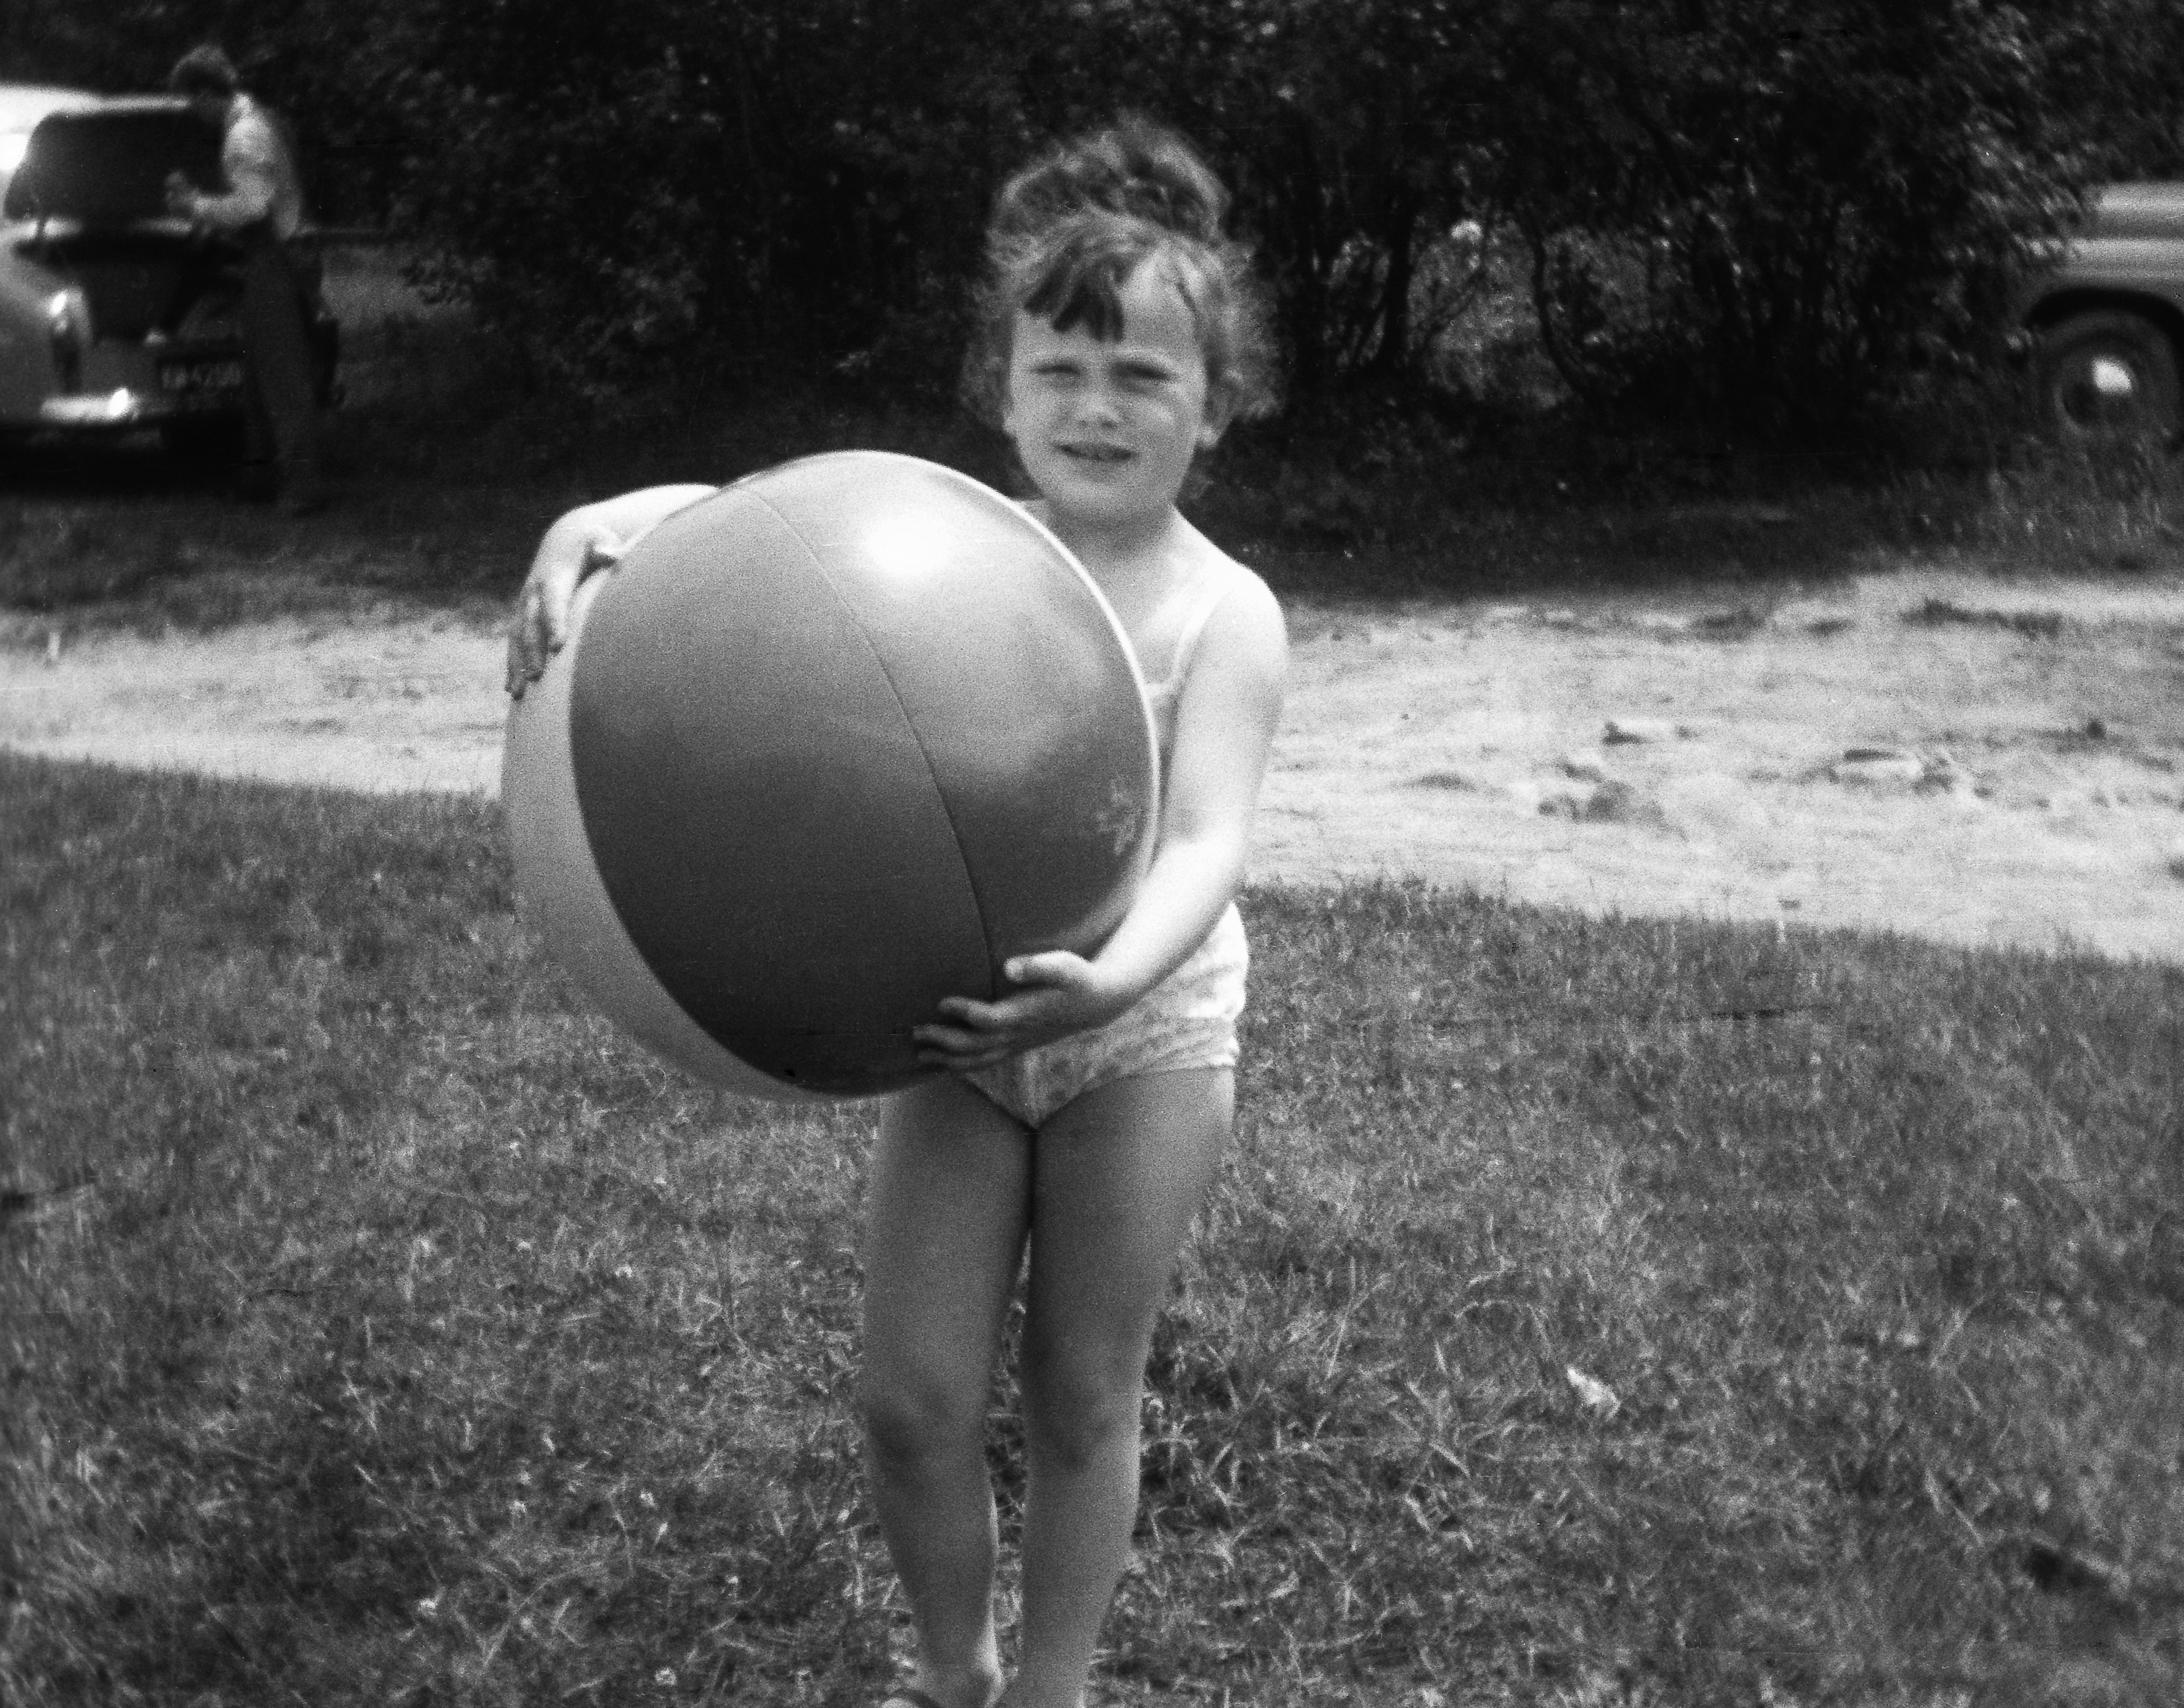
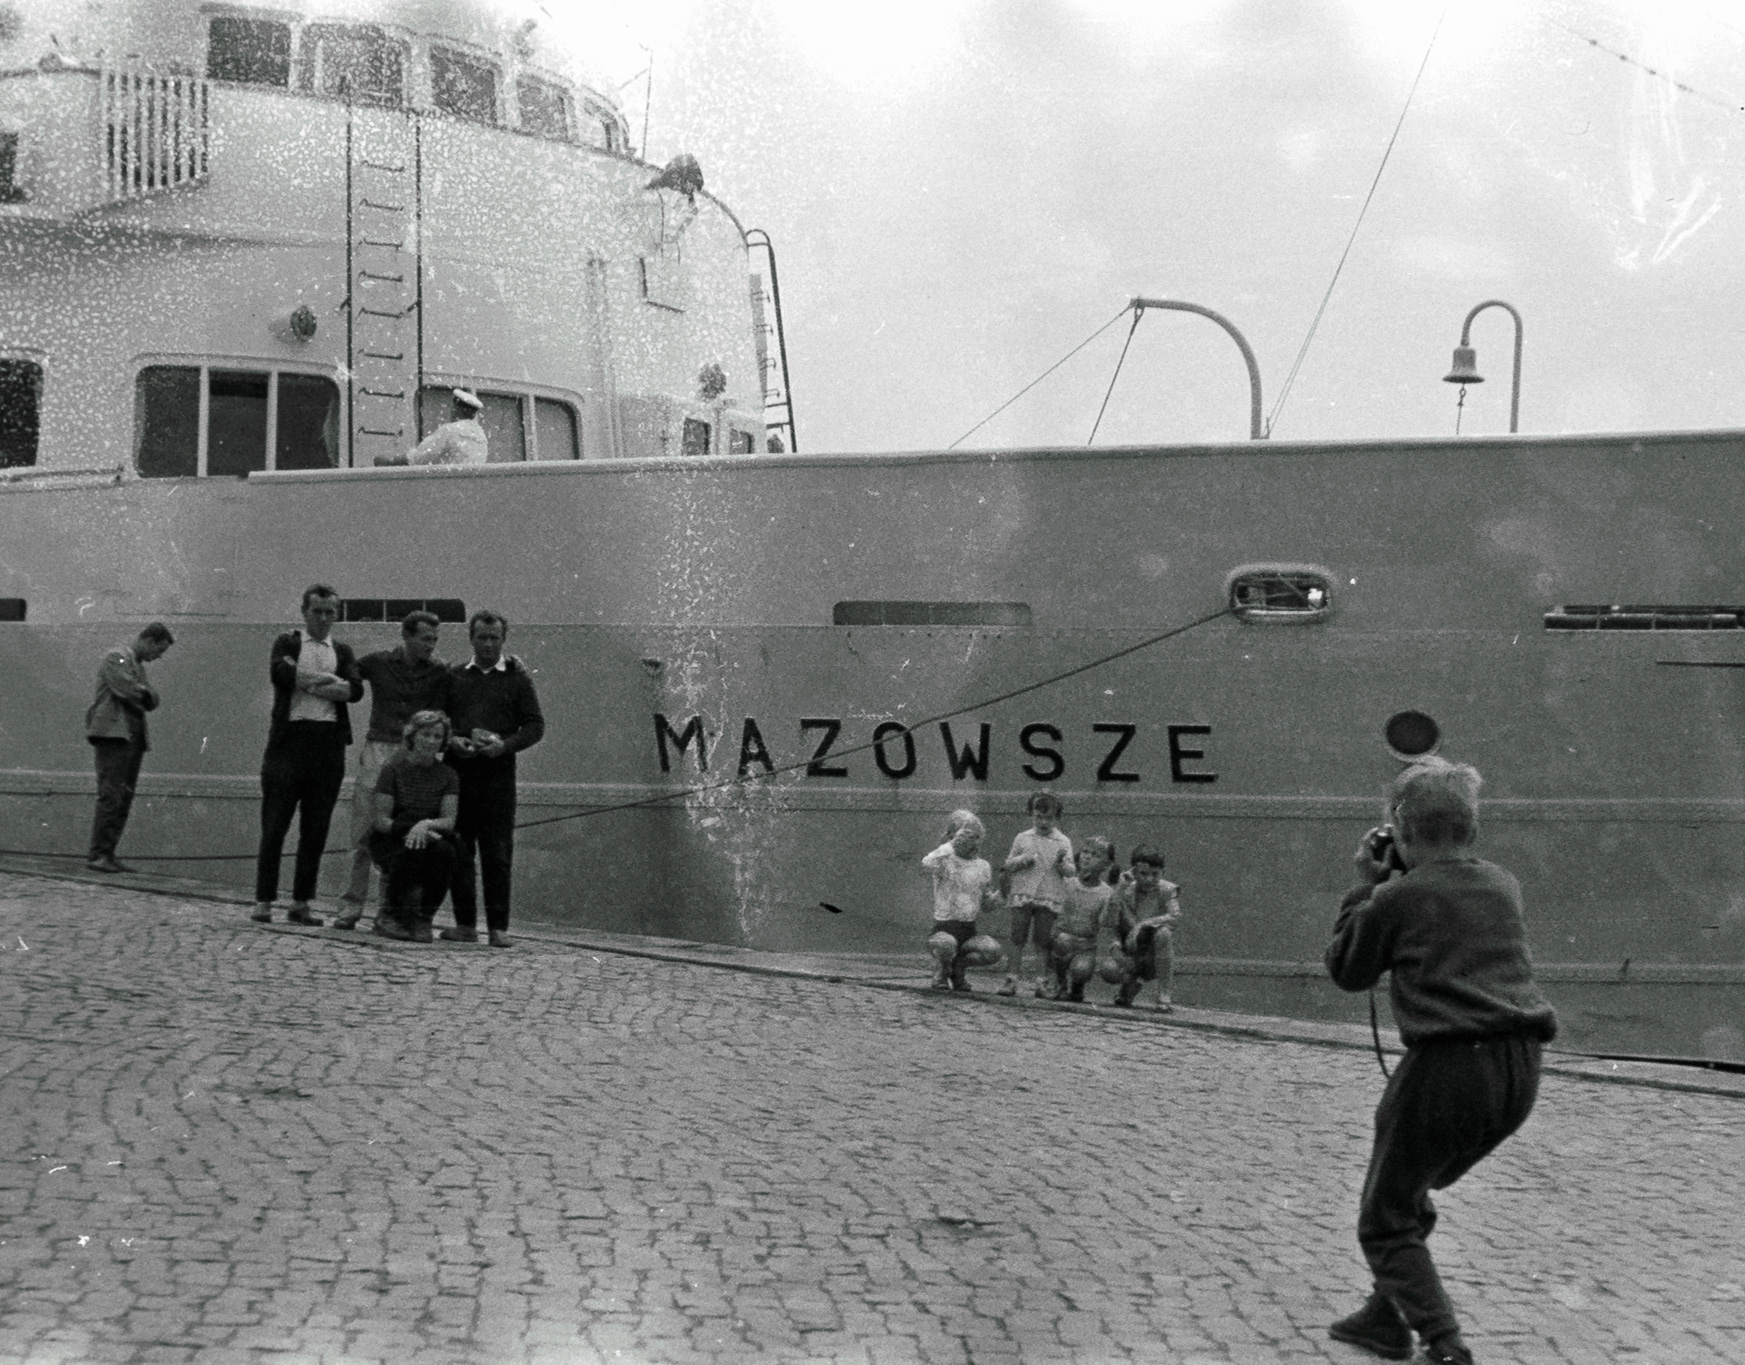
Scanned 120 film with 6x9 photos. Age of negative - at least 65 years